|
Tools In the interest of not being called on plaigarism, I freely admit that I brazenly copied this entire page from the website of our teacher (Mr. Bridger), although all descriptive text on this page is my own. Incidently, if the HTML code for this page looks like a complete mess, it's because I stuck in my own stuff without bothering to rearrange the FrontPage code from the original. If it hasn't crashed your web browser yet, though, it should work fine. |
|
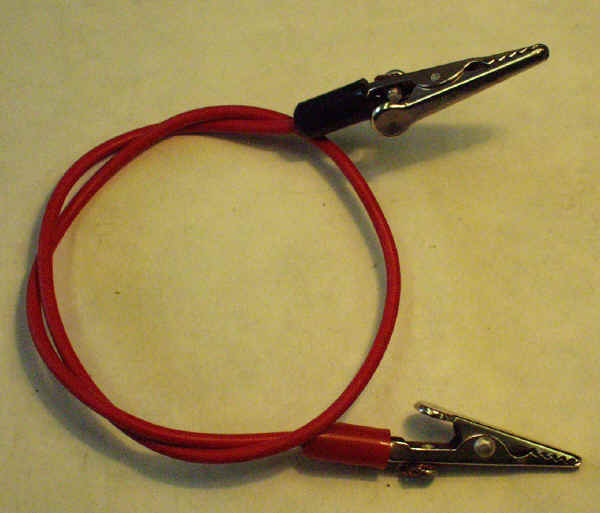
These things are remarkably handy; I wish we had had a few more lying around. This is a wire with two alligator clips, one on either end. The clips can be attached to other wires or connectors in order to complete a circuit; they probably aren't the best for permanent use, but they are extreemely useful for creating temporary connections in order to test components. |
|
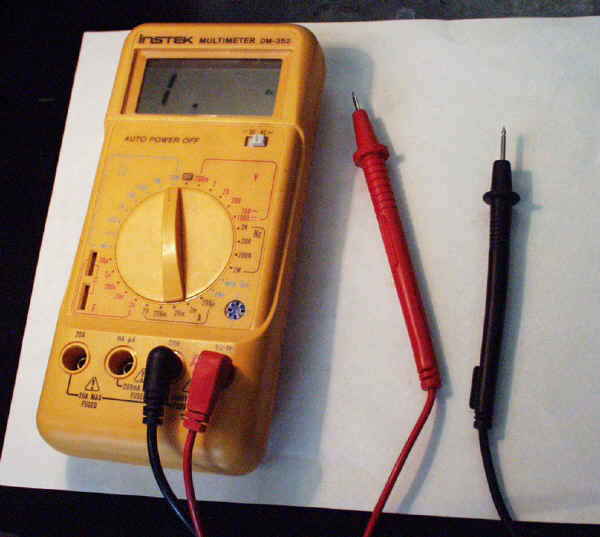
This is a digital multimeter. These things are great tools; they can measure just about anything that you could want to know with relation to an electric circuit: resistance, voltage and current (for both both alternating and direct current circuits), frequency, and more. To use this device, just attach the two leads to their appropriate, color-coded plugs, and switch the main dial to the appropriate setting. |
|
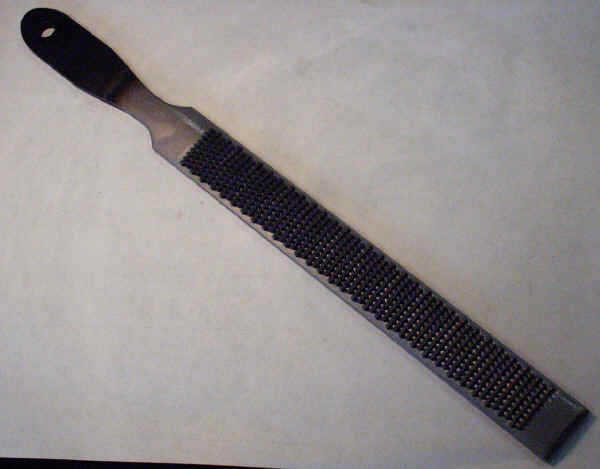
This is a coarse wood file. Use these for taking off large amounts of wood at a time; don't expect to get a nice finish with one of these things, though, as you will probably end up spending a good deal of time with different grits of samdpaper trying to smooth off any wood that this thing touches. |
|
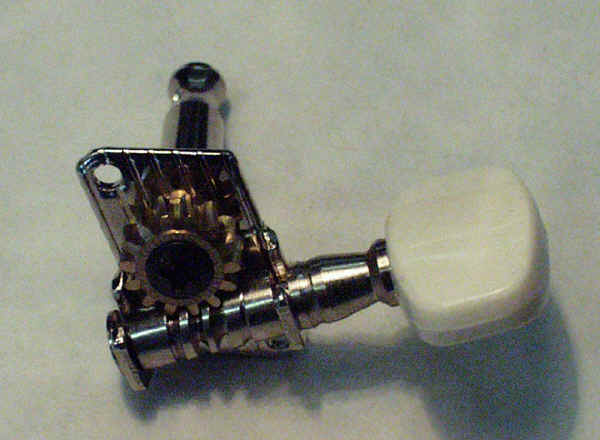
This is a picture of the mechanisms of a tuning knob. It is, in my books, an ideal machine; it handles a rather complex, force-intensive task with an elegant, simple design that is about as robust and as easy to use as is possible with anything within many orders of magnitude of this degree of simplicity of design (although I would appreciate a somewhat higher gear ratio -- it takes only a minuscule bump of the knob to upset the tuning of the attached string completely). |
|
This is a picture of a generic hammer. We didn't really use hammers much throughout this lab; we really only used them to hammer in fret wire. |
|
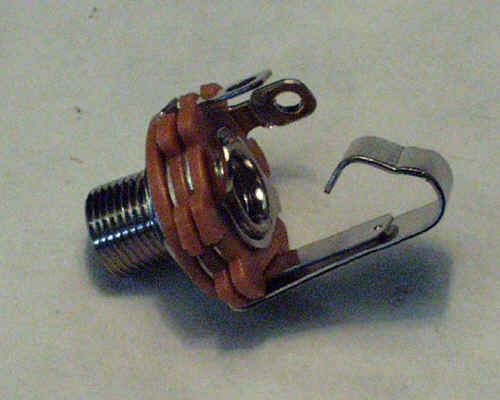
This is a picture of the 1/4 in. jack that we used. |
|
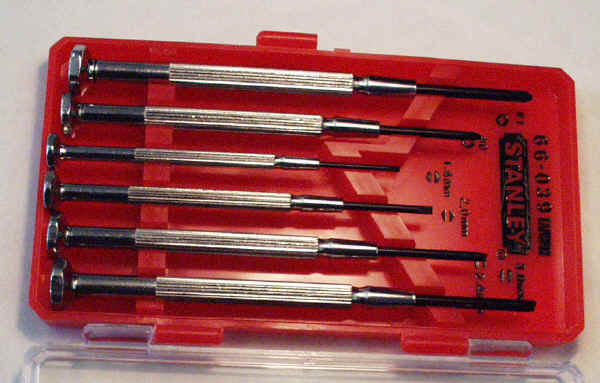
This is a set of very small-headed jewelery screwdrivers. We used these to screw in the very small screws that held down the tuning knobs. |
|
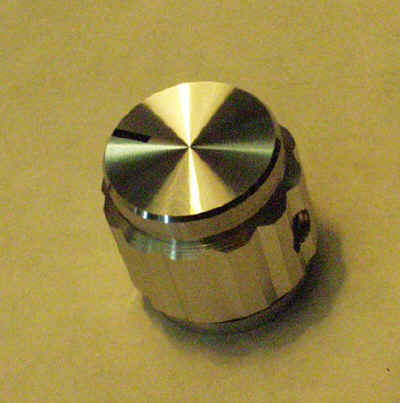
This is a knob for a potentiometer. After sliding it over the potentiometer's rotating section, you lock it in place by screwing a very small hex(agonal)-head screw into a hole on its side. |
|
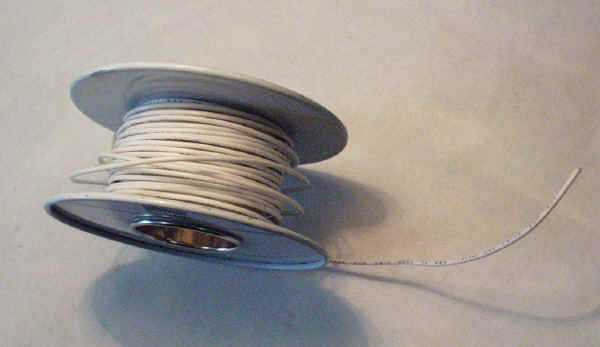
This is the generic wire that we used in building our guitars. A segment of this wire was soldered onto each lead (that we used) on the potentiometer and the 1/4 in. jack |
|
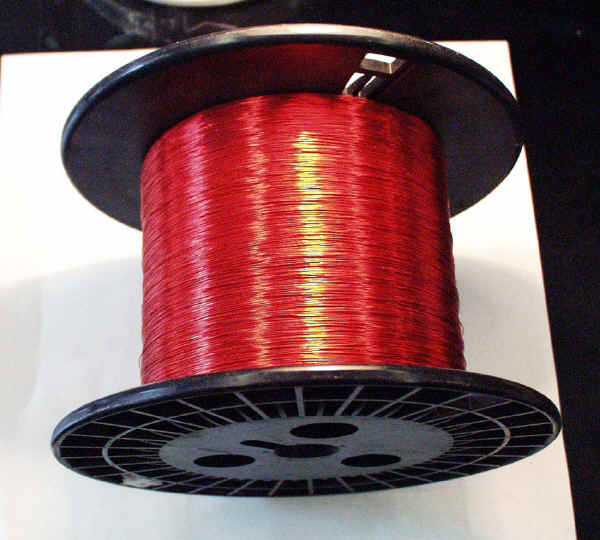
This is the magnet wire that we used to create our pickups. It also can be used to make great electromagnets, hence the name "magnet wire". |
|
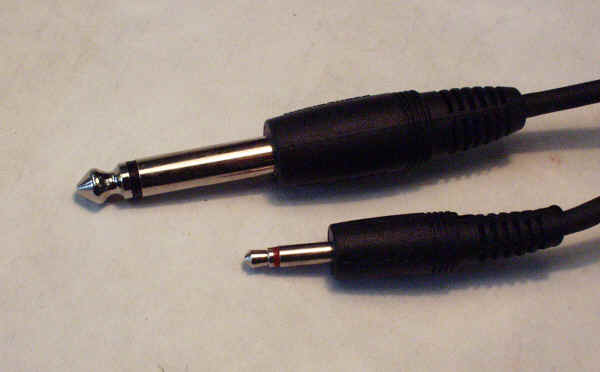
These are the ends of the cables that we used to connect an electric guitar ... well, in this case, to a computer. To connect the guitars to amplifiers, we used cables with two ends identical to the large end shown here. |
|
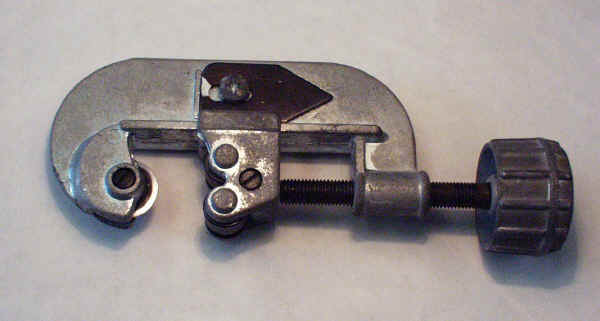
This is a pipe cutter. We used it to cut the metal pipe for our slides. To use this tool, simply insert the pipe so that the line along which you want to cut your guitar slide is lined up evenly with the blade, and start tightening the device as if it were a C-clamp while rotating it around the pipe. |
|
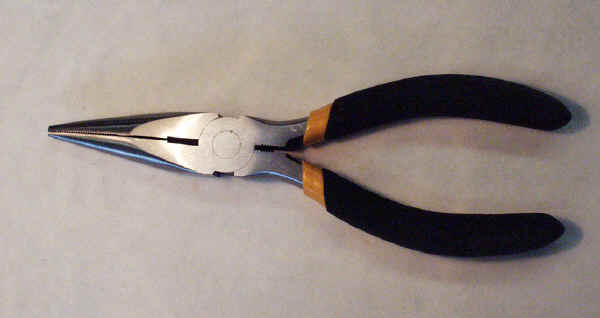
This is a pair of pliers. I'm not quite sure why it's here, as we never actually needed them in the construction of these guitars. They do make good wire strippers in a pinch, though, and they are useful for grabbing wires and guitar strings; you can grip wires much more tightly with pliers than with fingers, and thus exert more force on them, if this should be necesary. |
|
This is a picture of the back of the potentiometers that we used as volume controls for our guitars. |
|
This is the potentiometer again, this time from above. |
|
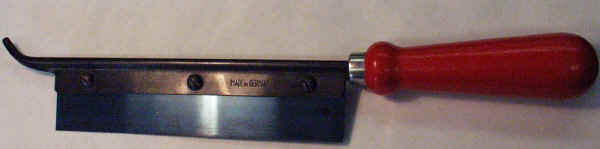
This is, as you might imagine, a saw. We used saws like this one to slot the nut blanks, and, in some cases, to cut slots for the fret wire. You have to be a little careful not to cut yourself with these things; they are designed to cut through hard objects easily, and for them, skin is no problem... They are quite safe if you use them wisely, though. |
|
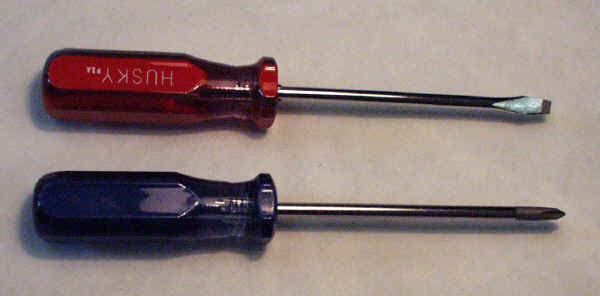
This is a standard screwdriver set; we used these screwdrivers to insert the brass screws in the tailpiece. |
|
This is a soldering station; we used these to solder wires together. See more information in the Soldering guide. |
|
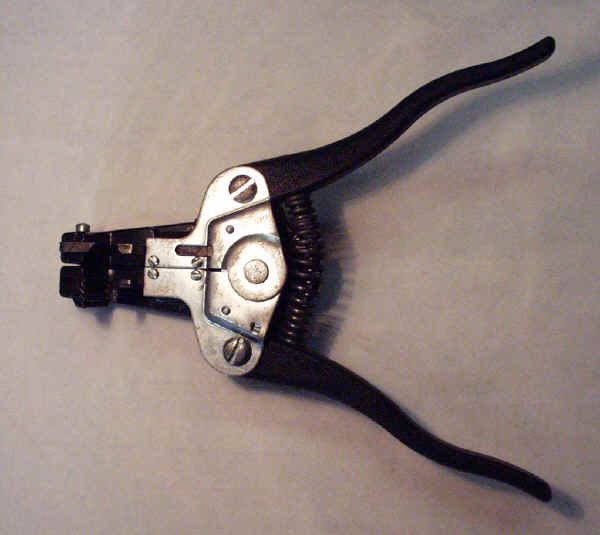
This is the wire stripper model that we used. It cuts the plastic off the end of wires so that we can connect the metal, electrically-conductive parts of wires to each other and to electronic components. |
|
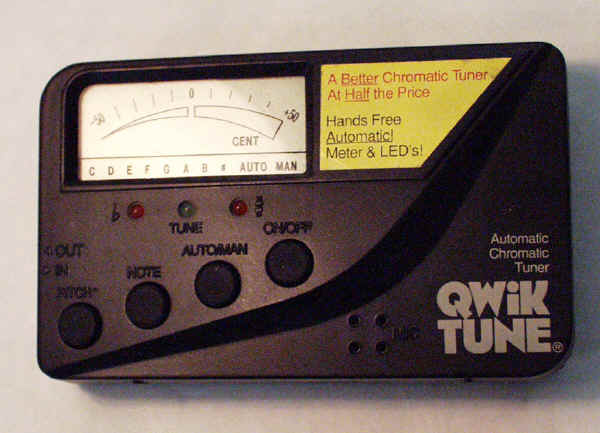
This is an electronic tuner. We used it to tune our finished guitars. |